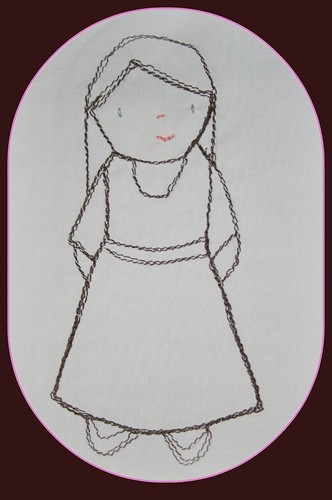
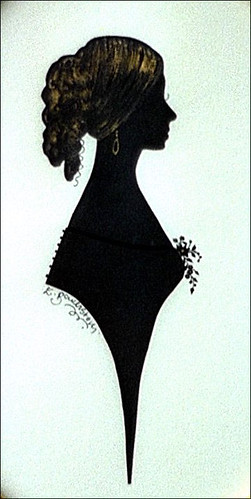
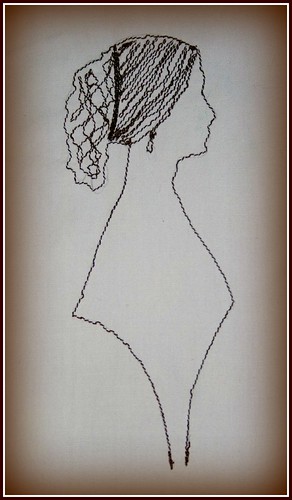
I made up these little beauties for a swapbot potholder swap. The inspiration for them came from Pink Penguin. Ayumills is just so talented that you will want to try out her sewing tutorials. The teapot tutorial is found here and includes a downloadable pattern. My advice is to have your computer nearby while you are making the pattern, because I didn't and the photos would have really helped my attempt turn out a little better. The brown potholder is made from some chocolate lollipop charms I bought a while back. Can I just say that I LOVE LOVE LOVE Anna Maria Horner's fabric. It is awesome. I am going to try to make one of Ayumills' other tutorial patterns with the rest of the charms - a Reversible Patchwork Bag.
Wednesday, May 20, 2009
Tuesday, March 31, 2009
Follow me while I blog hop!
Monday, February 2, 2009
Valentine Pillow Tutorial
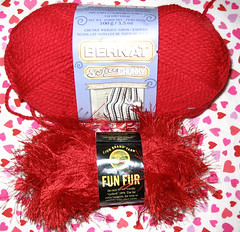
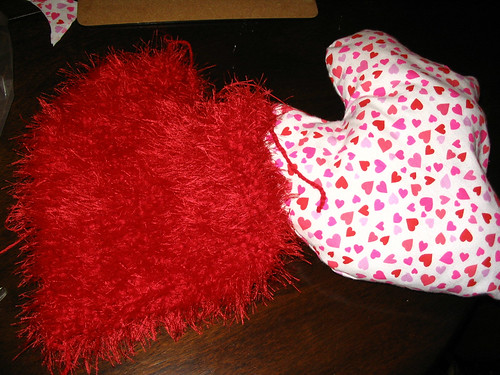
 This is an easy and quick project to knit up for that special someone. I made one for a relative who has been ill; and, when my boys saw it, they wanted one too! Yarn: Lion Brand Fun Fur in Color # Red; Bernat Softee Chunkee in Color # Red. Needles: Size 11 circular Notions: 1/2 yard of fabric to make pillow ( this is enough for 2 pillows). Needle and Thread for sewing knitted fabric to pillow. Stuffing for pillow. Gauge: Doesn't really matter Directions:
 KNITTING:
Holding the two yarns together, CO 2 stitches. Row 1: K 2 stitches, Add a stitch by CO 1 at end of row (3 stitches on needle). Row 2: K all stitches, CO 1 at end of row (4 sttiches on needle). Continue in this pattern, Knitting all stitches and adding one at end of each row by the cast on method, until you have 30 stitches on your needle. Knit 4 rows. Knit 2 rows, adding one stitch by the cast on method at end of each row (32 stitches on your needle) ; Knit 4 rows; Knit 2 rows adding one stitch at the end of each row with the cast on methond (34 stitches on your needle; Knit 20 rows; Now you will Divide for the top of the pillow. Knit 17 stitches. Slip these onto a knit holder. With the remaining 17 stitches: Row 1: BO 1, Knit to last 3 st. K2tog, K1. Row 2: K all stitches Row3: K1, Sl 1 as if to Purl, K1, PSSO, K to last three stiches, K2 Tog, K1 Row4: K all stitches Repeat Rows 3 & 4 until 7 stitches remain on needle. BO these stitches Rejoin yarn, and repeat this process in reverse for the opposite side stitches that were on the holder.SEWING:
Lay your knitted fabric on top of two layers of regular fabric. Cut out 2 hearts adding 3/4" to the edge.
Sew the heart, right sides together, leaving an opening on one side for stuffing.
You should now have a pillow. Stuff it to your liking and then sew up the edge.
Now, lay your knitted pillow on top of your fabric pillow and sew them together at the edge.
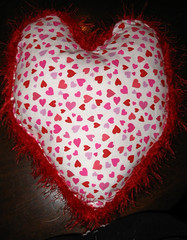
Once done, your pillow should look like this from the back:
Enjoy!
PS. The "Be Mine!" in the pillow was added afterwords via text on an image. If you like it, you could add it via hand or machine embroidery.
Tuesday, November 25, 2008
Pin Cushion Swap

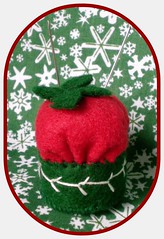
I signed up for a pincushion swap on Swap-bot today. That sounds like fun. I have a hoard of pincushions already made, so I won't have to put too much added work into the mix. Here is a simple one I made from a bottle cap
How About Orange's Tiny Pin Cushion Tutorial
paper.string.cloth patchwork pincushion
Martha Stewart's strawberry pincushions
a wrist pin cushion from the Green Kitchen

Monday, November 24, 2008
Full House
Monday, November 17, 2008
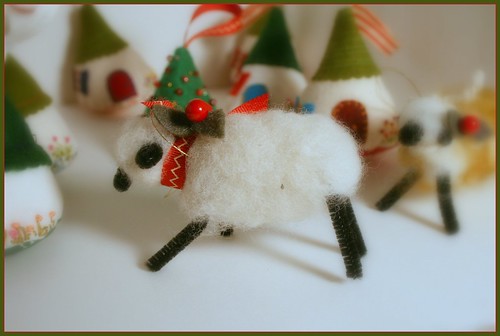
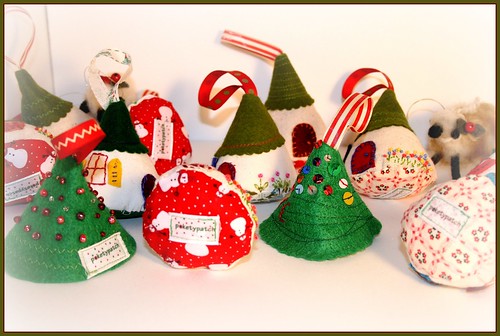
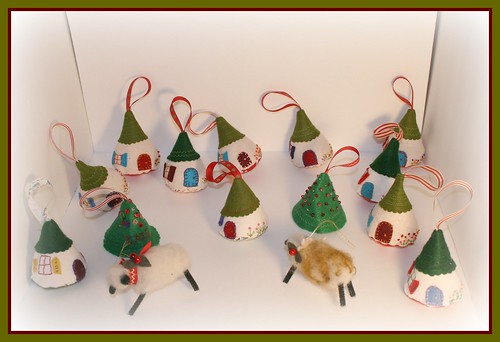
A Week of Handmade Ornaments
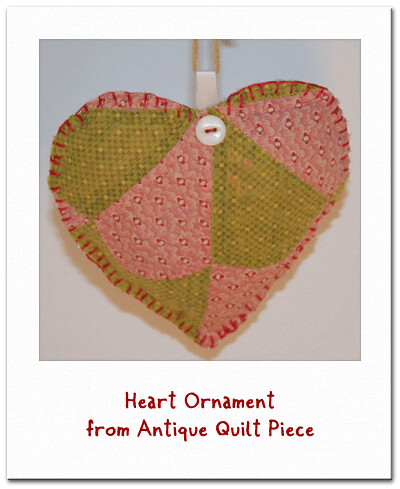
Polaroid-Frame-Flat, originally uploaded by poketypatch.
On the first Saturday of every month, there is a local flea market at the Fire House. It is really a cross between a yard sale and an antique show. You never know what you will find. Back in August, a dealer had these little antique hearts. I bought them thinking I would use them for a baby blanket. However, since it is not looking like there will be anymore babies in my family (or extended family) anytime soon, I decided a better use might be to make some ornaments.

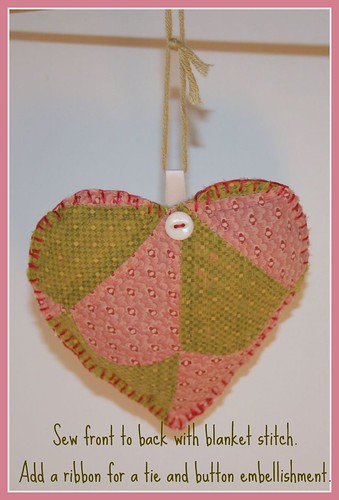
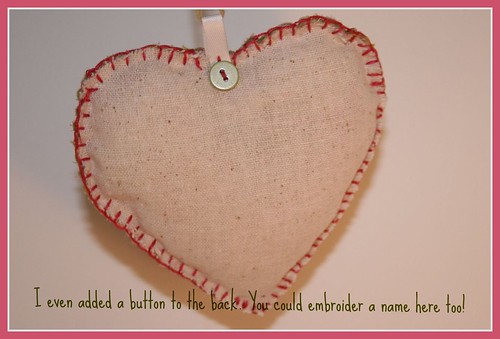
When I was stuffing, I slipped in a little sachet of lavender made from a recycled dryer sheet. I figured that once the holidays were over, the heart could hang on a closet door or be placed in a sock drawer to keep everything smelling fresh!
Wednesday, November 12, 2008
Little House Ornament
I decided it was time to start thinking about making some ornaments since I signed up for the Ornament Swap again this year. I received my list of swap partners yesterday. The group is being administered by swap-bot. This is a pretty cool site, especially if you like to participate in swaps. I signed up for another swap that is swapping ribbon! I think it is interesting and awesome that most of my swapping partners in the ornament swap are from the opposite parts of the USA than me, and two are from other countries! Last year my whole family got into the excitement of receiving the different ornaments. I hoping that this year will be just as much fun.
To get in the mood, I did a quick GOOGLE search of handmade ornaments. The first site that popped up was Pimp Stitch. I was a little taken back by the name, but clicked anyways. Well, I hit the motherload - not only was there the absolute best tutorial here for a wee little house ornament, but there were tutorials for lots of embroidery related crafts!
The most recent post on the blog chronicled an interview with Jenny Hart of Sublime Stitching: Hundreds of Hip Embroidery Patterns and How-To. Do you ever think that things just are supposed to happen, like clicking to a blog on a whim, and finding just exactly what you are currently interested in? During a recent surgical recuperation, I used the book Sublime Stitching to start learning how to embroider with it's great projects and patterns.
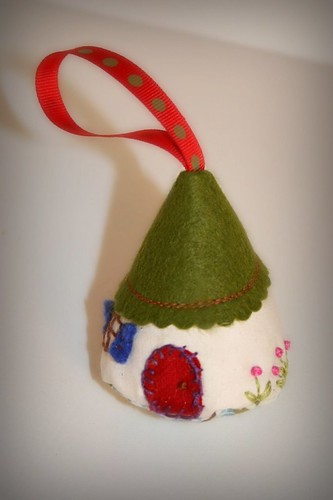
So, last night I took the plunge and made one of the little house ornaments. I have to say it was a fun, easy project. The only change I would make to the order of putting the ornament together would be to embroider the decorative elements before I sewed it together. It is probably just me and my inexperience at embroidery (don't look too closely at my stitches!), but I had a hard time with the embroidery with the bottom already sewn on the ornament. Despite this lack of experience, I think that the final product was pretty sweet! It definitely brightened my day to see this cute little cottage sitting on my bedside table when I woke up this morning!

Monday, November 10, 2008
Migraine Fighter
 I used the pattern in Amy Butler's In Stitches: More Than 25 Simple and Stylish Sewing Projects
Friday, November 7, 2008
My Lucky Day
Second, I sold a pair of longies on eBay.

Third, I got this is the mail today...
Tuesday, November 4, 2008
Before-School Scarf

This morning there was a sense of excitement in the air. It was 7 am and my husband was already out on a strategic mission of sign placement at a local voting establishment. I was in a hurry to get ready, so I threw on my fall uniform - brown cords and a brown turtleneck. Since it is voting day, and since I am HOPEFUL that CHANGE will happen, I decided a lucky little scarf would dress up the outfit. I pulled out a quarter yard piece of silky fabric that I had been meaning to turn into a scarf - but never sat down and did it - and I decided that there is no time like the present.
I took the quarter yard piece and folded it in half longways with right sides together. I ironed the crease and then sewed up the raw edges. I left the raw edges on either side unsewn. I turned the scarf so that right sides were out, ironed so that the seam was in the middle back and then sewed up either end by ironing under 1/4 edge at an angle.

I finished this in just under 10 minutes, in between making lunches for school, getting school clothes out of the dryer and fixing my computer that had crashed (don't ask!)When I have a little more time, I will sew on some sort of edging at either end. I am thinking either beads or a nice ribbon (Velvet?)...
On the topic of scarves, do you remember a "dickey"? (Am I aging myself?) A dickey is a type of false shirt-front - like a turtleneck with a body that covers the neck area but with no sleeves or body. Recently, I have been revisiting the idea of dickies. Since the East Coast weather where I live just doesn't get too cold anymore, you need something to keep the exposed part of your neck warm without the bulk and warmth of a heavy sweater or scarf. The modern version of a dickey is now called a "neckwarmer".
Jared Flood recently designed a pattern for the "Stormy Morningside Neckwarmer" for Classic Elite Yarns. I drew two male names for our family Christmas gift swap and thought this just might fit the bill.


The "women's slouchy" version is pretty sweet too. I think I'm going to have to get my knitting needles out and start some holiday knitting. What a perfect way to watch those votes come in to night. Let's HOPE it turns out for the best!
Friday, October 31, 2008
Little Purse
This is my first attempt at sewing a handmade bag! I made this sweet little purse from Simplicity Pattern ("it's so easy!") 4625. It would have been really easy if I hadn't decided to use different fabrics which required a little extra "thinking" when it came to cutting out the fabric. I love the size as it fits perfectly on your arm. You can get it over your shoulder, but the straps need to be lengthened if you prefer to primarily use it as a shoulder bag.
Saturday, February 23, 2008
Race Car Driver
A race car driver for my nephew who is a "CARS" fan. I am putting together a little gift bag for him with the doll, some race cars and a bag to carry them in. I hope he enjoys it for Birthday #3!
 I adapted a pattern from Wee Wonderful's Spaceboy pattern. It took me the better part of the day to go from start to finish, but I think it was worth it!
Sunday, February 17, 2008
Kitty
Saturday, February 16, 2008
Wednesday, January 16, 2008
Needlework Project & Good Reading
I finished the glasses case made from recycled sweaters, some of my boys old pants and buttons! It is soft and thick; and, I think it will work wear to protect a pair of glasses from scratches. It is also a good size for a cell phone or ipod.
Speaking of finishing...I have recently finished two "quick read" mysteries with a needlework theme. I picked them up at my local library. The series is written by Monica Ferris. The main character, Betsy Devonshire, owns a needlework shop, "Crewel World" in Minnesota. She solves crimes with her store manager, Godwin DuLac (who is gay), and other needleworking friends, one who is a police officer. I started out reading the most recent book, Knitting Bones, since it caught my eye on the new book rack at the library. I liked it so much, I have plowed through Crewel Yule and am getting ready to start Sins and Needles. All of the books are featured on Ms. Ferris' website and include the first chapter of each book. She also contributes to a mystery writer's blog, Killer Hobbies, and Wednesday is Ms. Ferris' day to contribute. If you like themed mysteries, I recommend these for a fun read! I have added them to my Amazon Widget.

Monday, January 14, 2008
Old Magazines and Old Buttons
Does anyone else hate to throw away old magazines? A few weeks back, I was cleaning out the bookshelves in my bedroom and came across a stack of old magazines. I decided to pick out one magazine, look through it, and if I didn't find anything of interest, I was going to throw it out. Good try! The magazine I chose was the February 2000 issue of Country Living. Since Valentine's Day was on my mind, I found it uncanny that I would randomly pick out a Valentine issue!
Besides wonderful articles on "Flea Market Makovers" and "Collect it Now", there was one article in particular that caught my eye. "Button it Up!" chronicles the art of folk artist Mary Teeter who makes one-of-a-kind mosaics out of old fabrics, buttons and embroidery. A google search came up with a couple of galleries that feature Ms. Teeter's buttonwork which is awsome. And, since I have a sewing box fully of old buttons, I was inspired to start using them!
Sunday, January 13, 2008
Valentine Needlecase Project
My creation, originally uploaded by poketypatch.
As I was rumaging through the attic this weekend, I found some old patterns I had printed out at least a year ago. One was a Valentine Needlecase. Since I have been trying to improve on my embroidery of late, I decided to use some of the felt I have been collecting each time I travel to Michael's, and whip up this little project. I am really pleased with the way that these turned out. They will be perfect for someone special on Valentine's Day!


