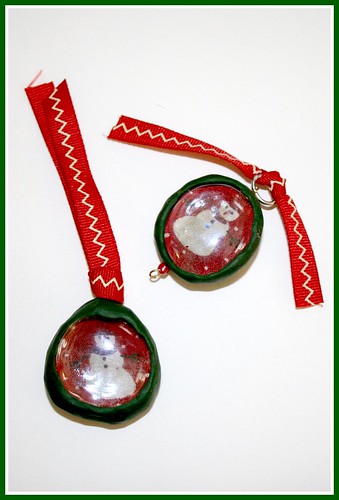
Here is an EASY ornament that you can make in 30 minutes! It is also a good project for school-aged kids with adult supervision.
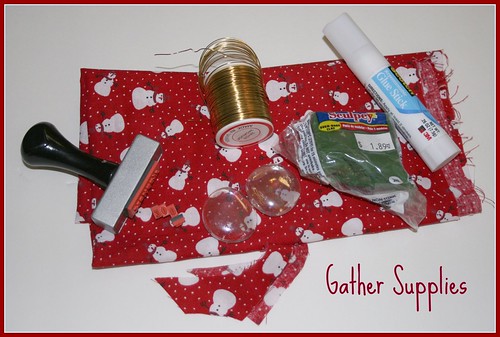
SUPPLIES NEEDED:
Glass Pebbles from Craft Store - Larger Size (about 1")
Sculpey Clay
Scraps of Holiday Material & Ribbon
Small amount of Wire
Glue Stick
Scissors
Holiday Stamps
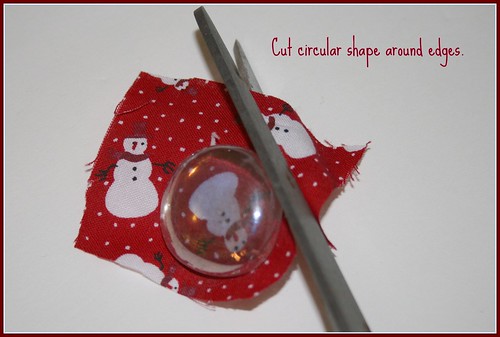
1. Position a glass pebble on top of holiday fabric to create a frame of pattern on fabric. Cut out a square of fabric around the edges of the pebble.
2. Rub glue stick on bottom of pebble and on fabric square.

3. Glue fabric onto pebble, centering your pattern. Cut circular shape around edge of pebble. It doesn't have to be precise, because clay will cover edges.
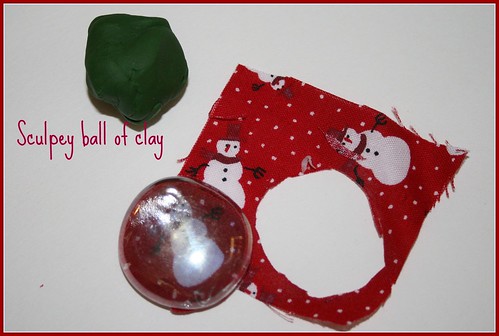
4. Make a ball of sculpey clay about the same size as your pebble. Work it in your hands to soften it. Shape it into a flat circle a little larger than your pebble.
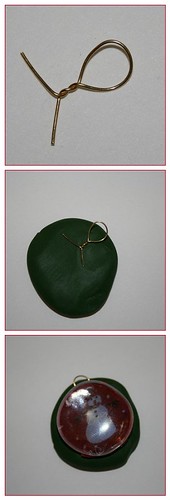
5. Cut a small amount of wire and make a loop.
6. Smoosh loop into back of clay.
7. Position clay onto back of fabric on pebble with wire in the top center back.
8. Form a frame around pebble with clay.
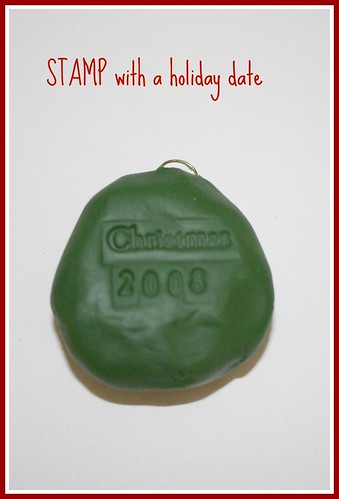
9. Use stamps to stamp pattern on back of ornament.
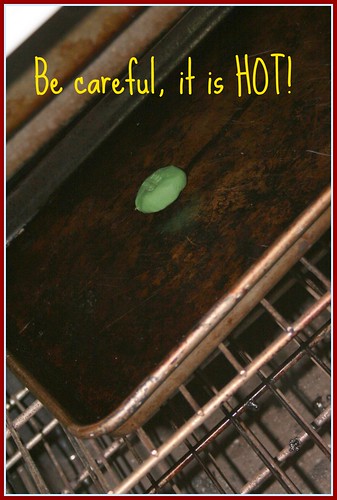
10. Cook as directed on clay package. This is where adult supervision is required. Be careful, the little ornament will be HOT!
11. Let the ornament cool and harden. Then string ornament through the wire loop with a small amount of ribbon.
12. Your done!
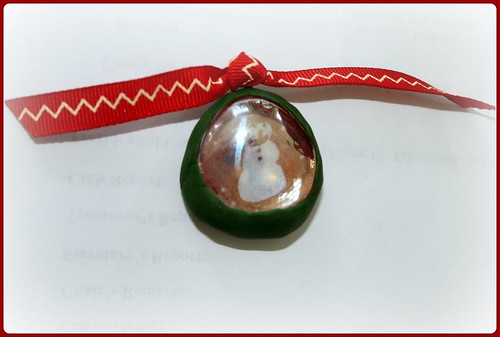
Instead of material you could use old Xmas cards, or a small picture of a child or pet. I also made one with silver jewelry finding as the wire and a bead at the bottom. Instead of an ornament, this could become the focal point of a necklace. Add a ring and make a key chain. The possibilities are endless!

No comments:
Post a Comment